
Fountain pens are often given as symbolic gifts, marking milestones such as graduation, transition into working life, or simply well wishes for one's future. Each pen can be carefully tailored to the recipient, and as such, it can hold tremendous sentimental value.
Kamil Szepanski at F. & G. Hachtel, a company that specializes in additive manufacturing and 3D printing, had such a fountain pen, but forty years had taken its toll on the material. After he took it apart, he noticed the thread had broken off from the grip section of the pen.

We don't quite need a CT scanner to see what happened: the thread broke off from the grip section (credit: K. Szepanski)

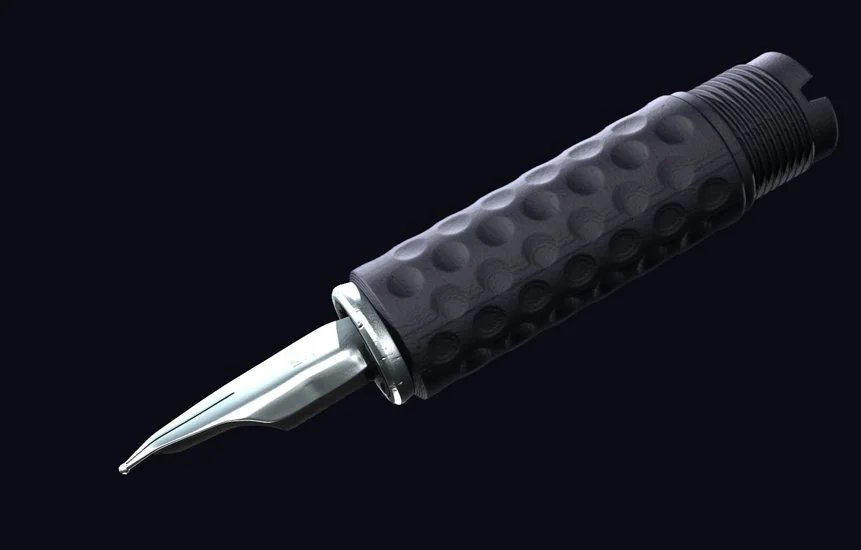
And what is a pen that writes if it cannot be held? (credit: K. Szepanski)
Kamil tried to put it together using a simple adhesive, but unfortunately, it wasn't enough to resuscitate it. Since the part was no longer manufactured, he needed to get creative—and reconstruct the part himself.
Some fountain pens cost thousands of dollars, so to err on the side of caution, they used VGSTUDIO MAX to segment it and take it apart.
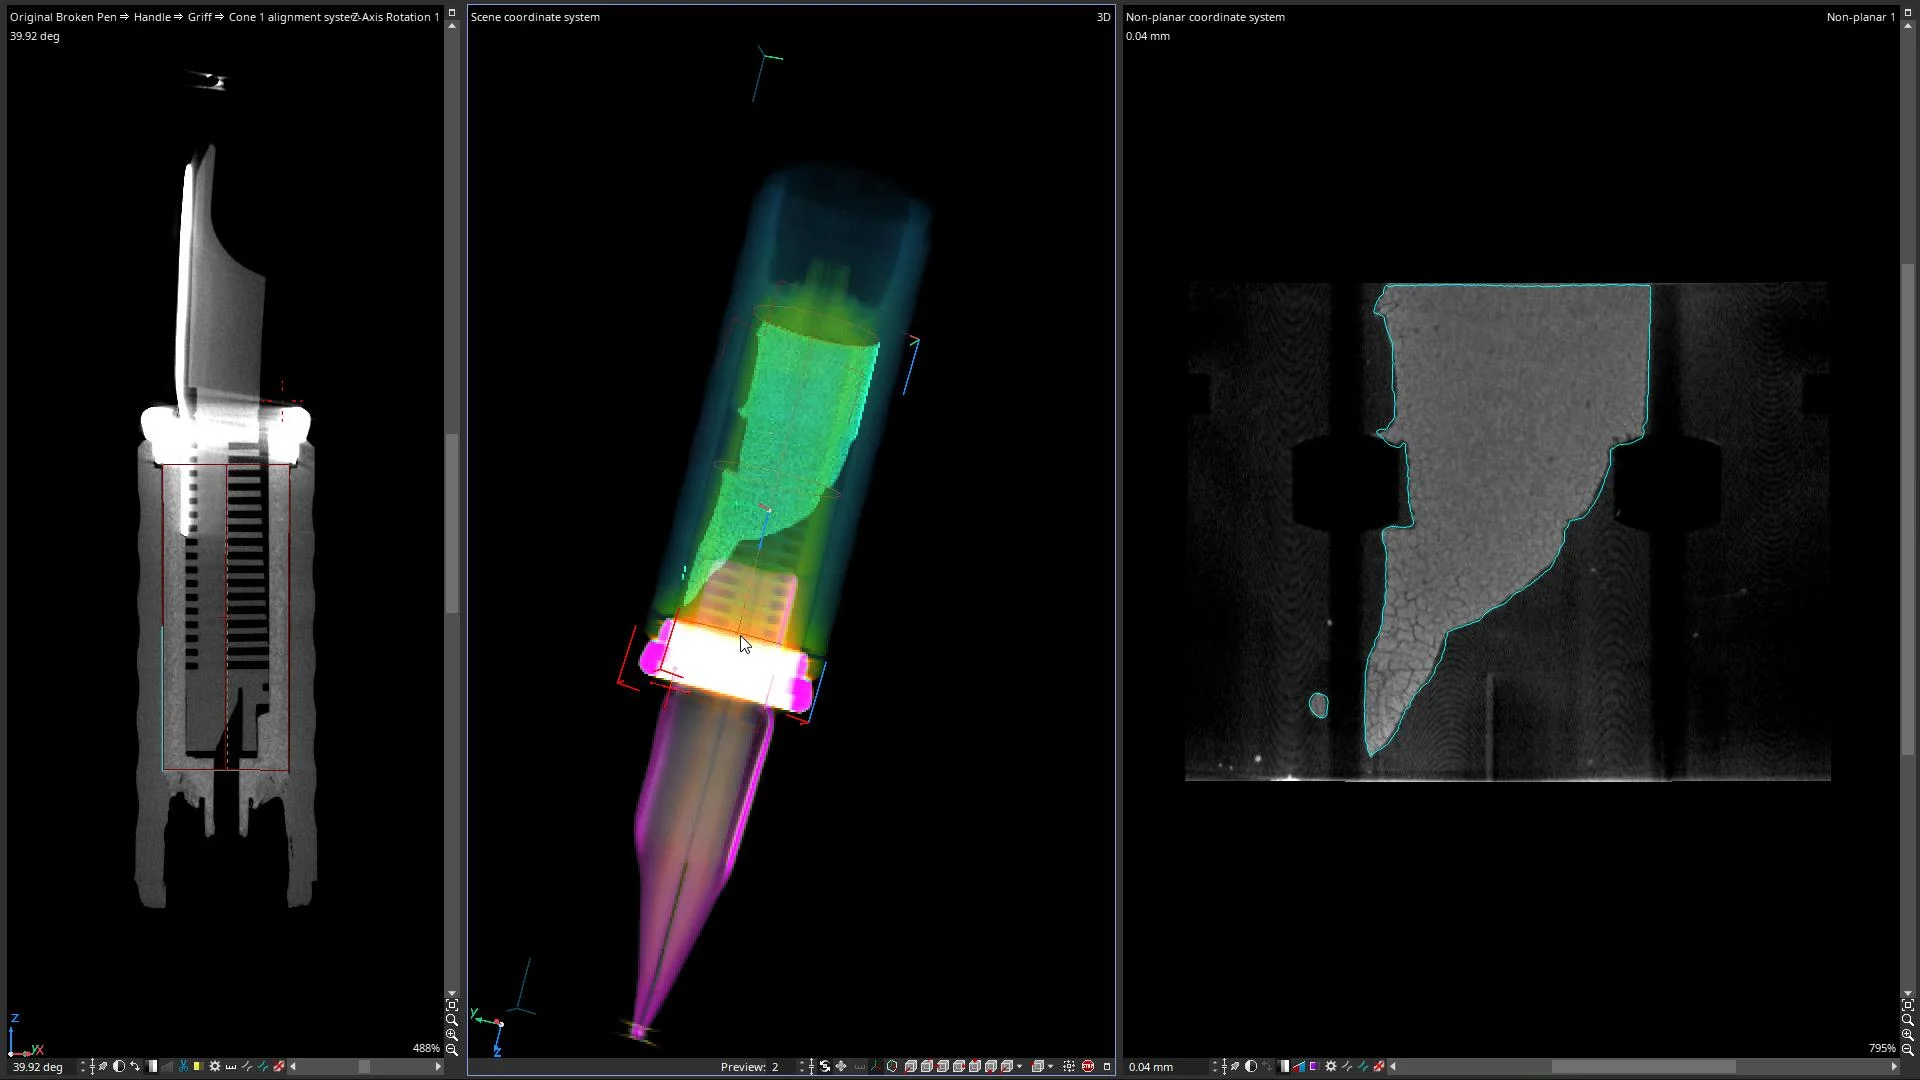
It was important to determine where the glue had been to exclude it from the plastic exterior. For this, Kamil segmented the glue with the help of the unroll mode in the non-planar view
Dissecting a Pen... Virtually
As it turns out, in this tapestry of life, fountain pens are also held together by little threads—screw threads—that in this case need further inspection. Let's take a closer look.

The rotation view reveals just how deep the damage goes
Segmentation was then used to view each part in relation to the rest of the pen. Using VGSTUDIO MAX, Kamil was able to isolate the grip section from the nib and feeder and examine them more closely. This also allowed him to look at how, exactly, the section was put together.

We can realign the broken pieces in VGSTUDIO MAX

Good as new! (credit: K. Szepanski)
After that, Kamil created clearer visualizations to get a better idea of what he was dealing with.
Sharp as a Pen Stroke: Visualization & Rendering
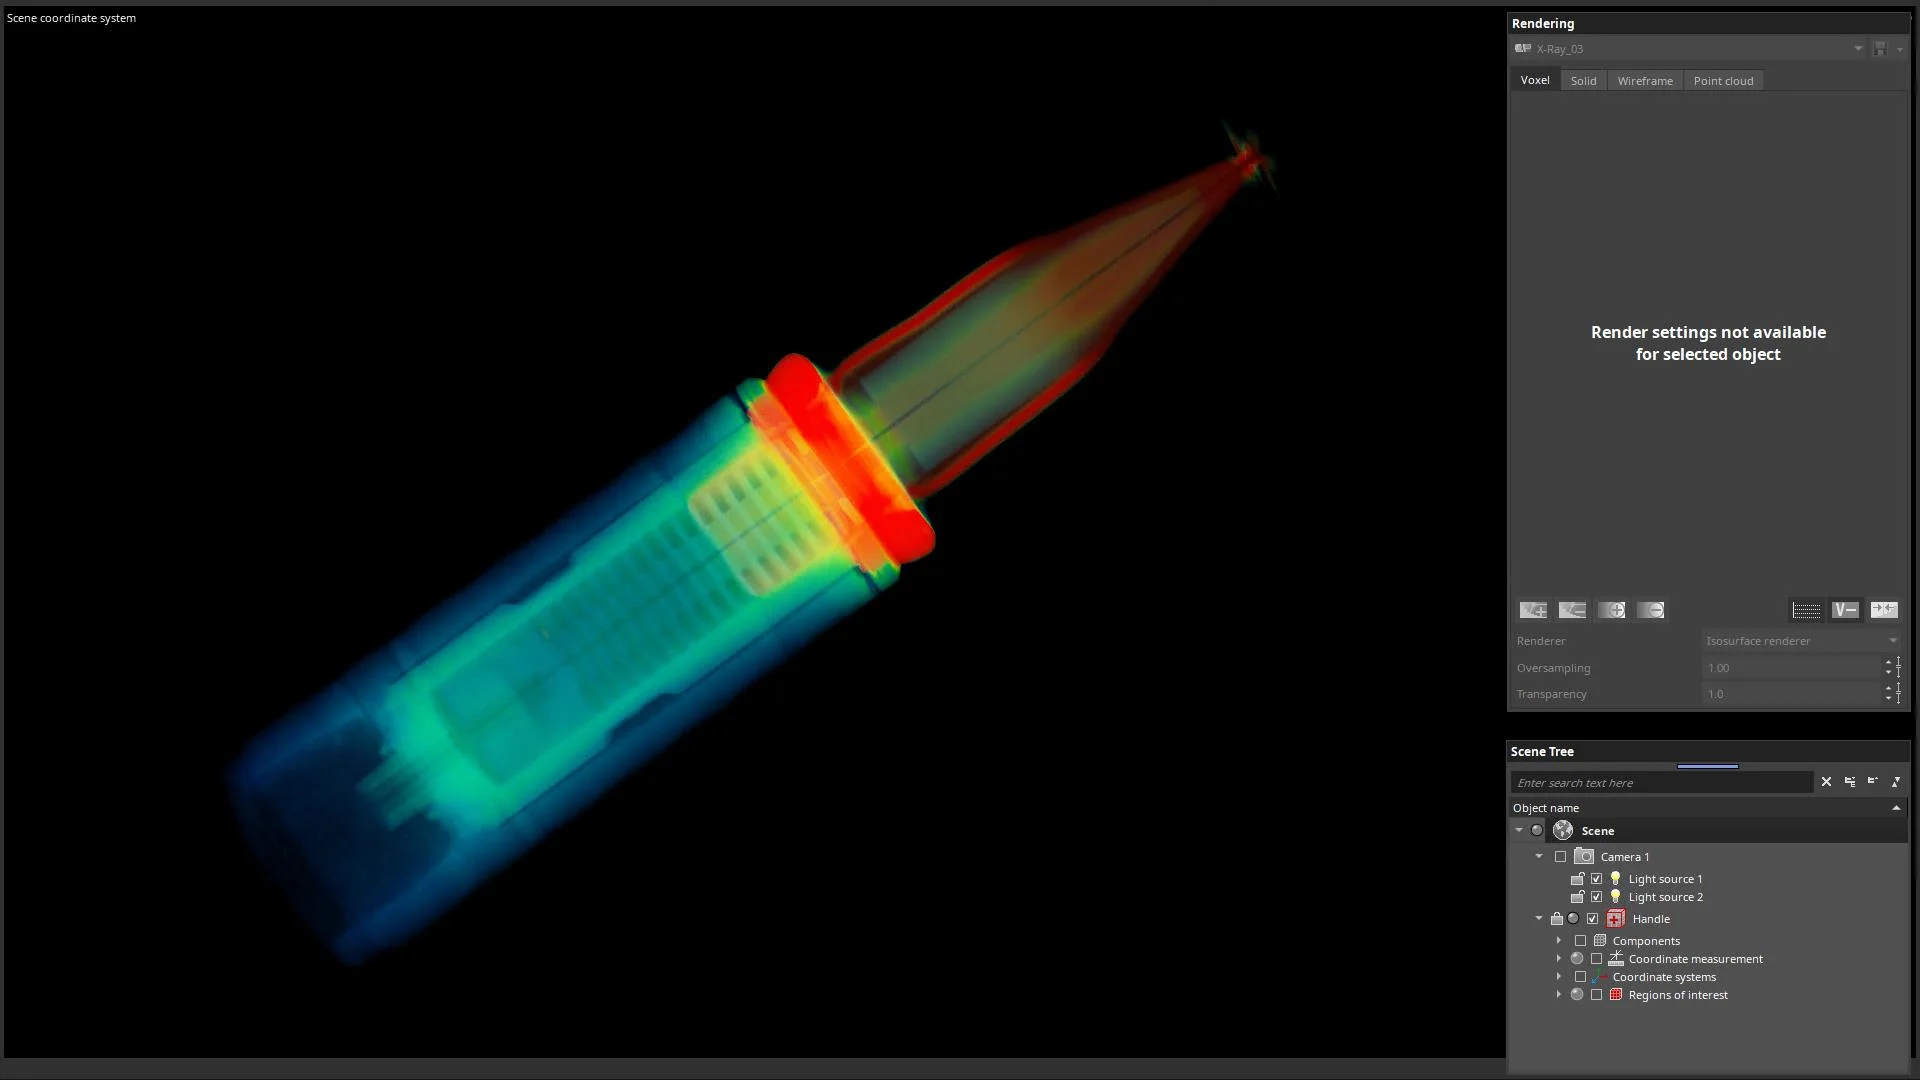
X-Rays are great diagnostic tools, and as it turns out, they're wonderful for pens, as well!

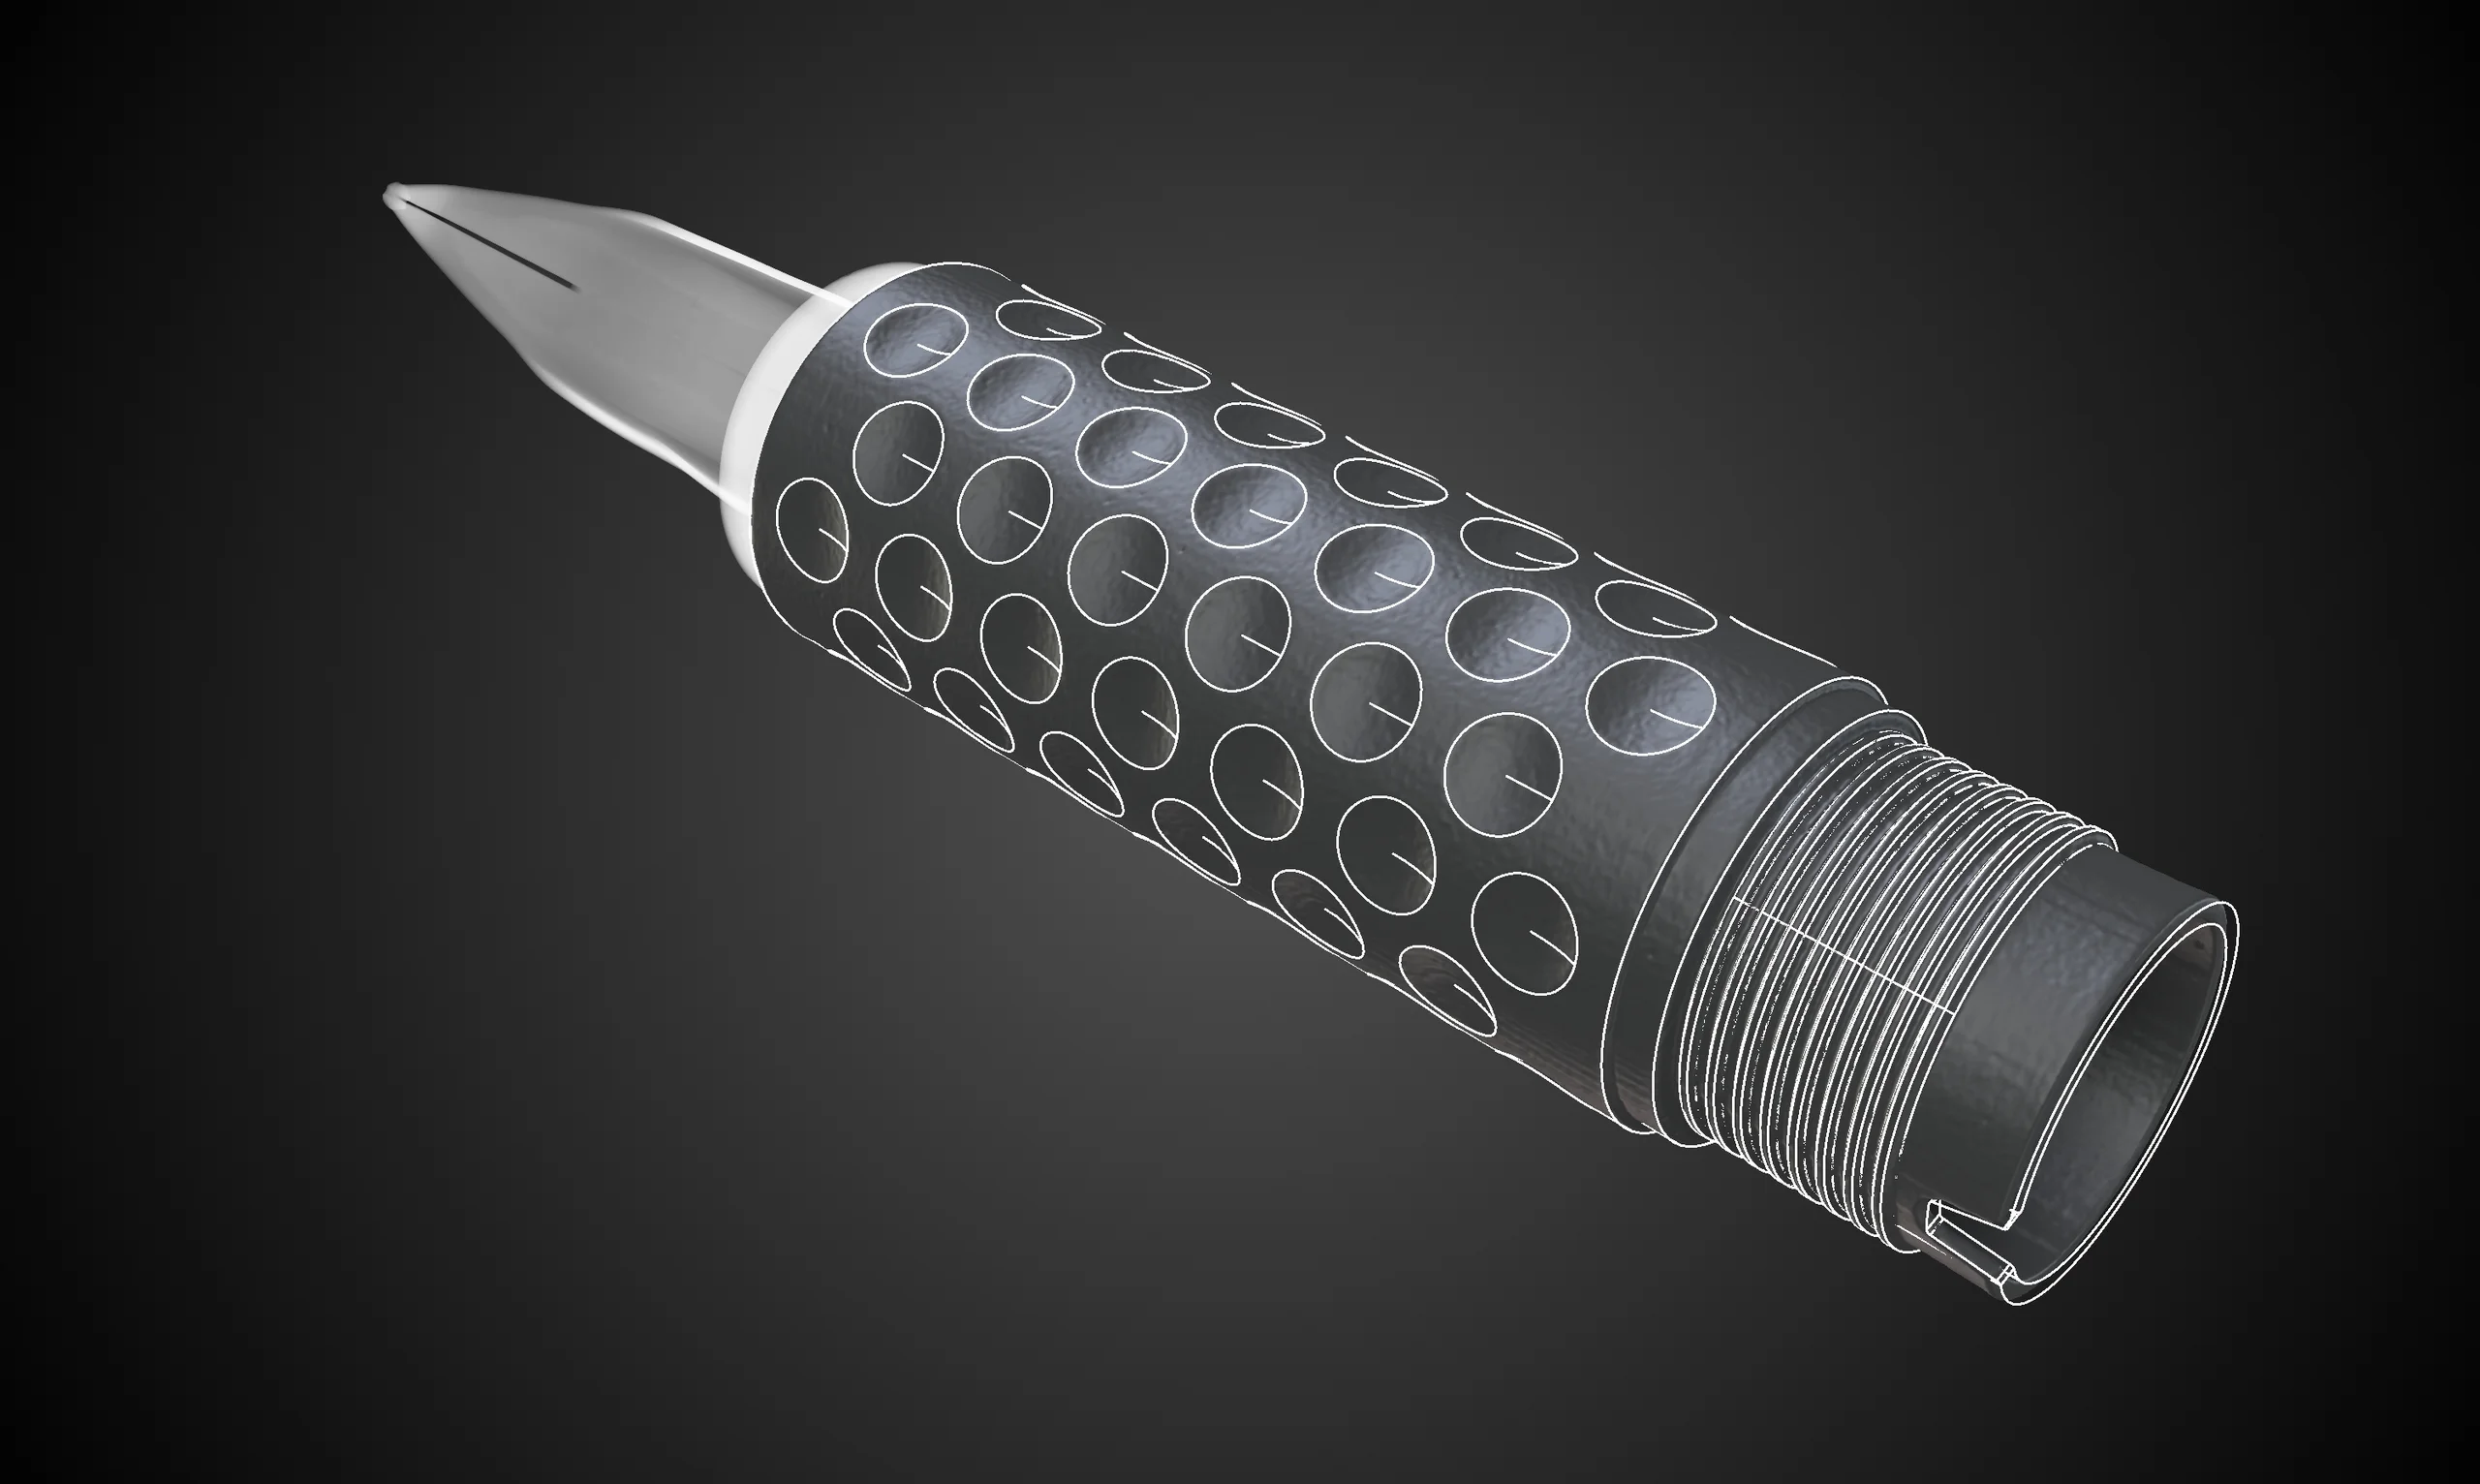
The X-Ray renderer gives us an inside look into the different parts of the pen without having to take it apart
Did You Know? X-Ray Renderer
We're all familiar with the isosurface renderer in VGSTUDIO MAX, but our X-Ray renderer is—despite not needing a light source—a hidden gem that shines. It captures X-Ray projections in 3D for a more natural, aesthetic look that is quick and easy to adjust. And its simplicity is just what makes it so robust.
For example, we only have a few settings—such as opacity, intensity, and density—that affect the intensity of the color equally, so it doesn't matter which setting you tweak. Colors can also be adjusted with the help of a look-up-table (LUT), where we can define which hue is assigned to which gray value. The opacity curve determines how intensely the color is rendered—the higher the value, the brighter the color appears.
Fine-tuning the look is a bit more complex. We can adjust the color values in the LUT and use the density slider to make the opacity curve more opaque or translucent. We can even adjust the ambient/diffuse intensity for more control, such as when we aren't working against a black background.
Opacity, intensity (ambient/diffuse), and density all equally influence the vividness of the colors, so it doesn't matter which of the settings you tweak. Quick tip: create a render preset when you're done!

Taking it apart piece by piece
Fountain Pen: Silver Edition
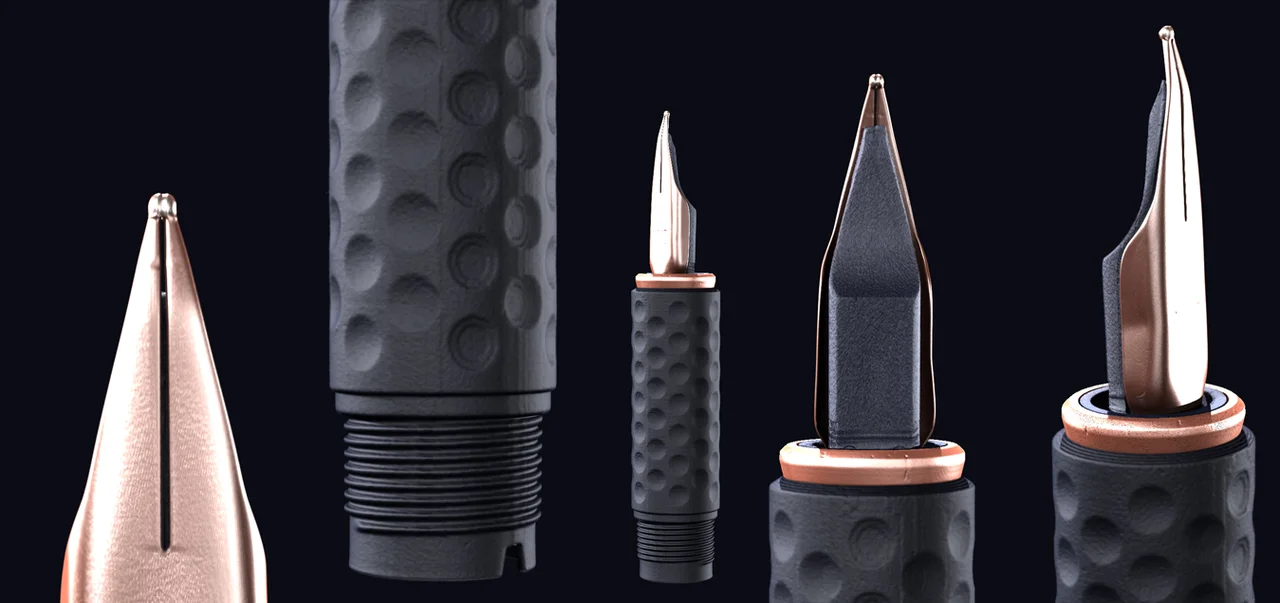
How about fancy rosé gold? Paint your voxels in whatever color you like
By creating and rendering clearer visualizations of the fountain pen, Kamil had a better idea of what parts he needed.
It was time to get to work.
A New Dimension of Precision
Using VGSTUDIO MAX allowed Kamil to create the necessary dimensions of parts they wanted to reconstruct. For example, he could determine the thread parameters, the height of the grip section, and the thickness of the barrel, among other things.

Measuring crucial thread parameters
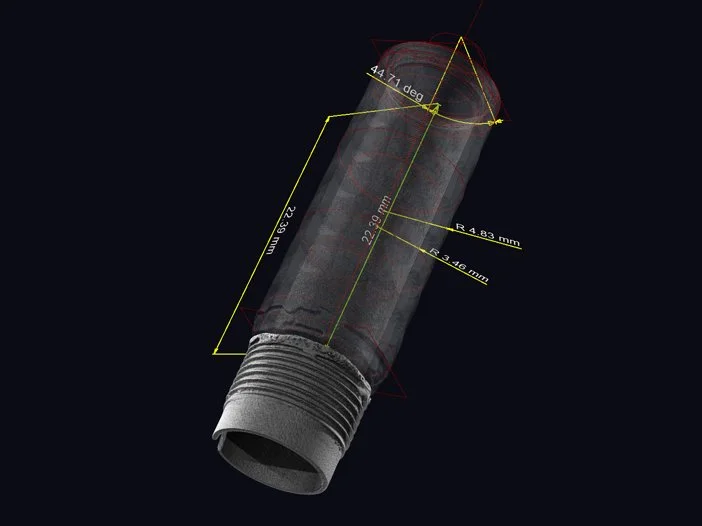
We can take take all sorts of measurements on the pen section
Now that he had all the dimensions they needed and a visual of what the part could be, the next step was to convert them to an STL file in VGSTUDIO MAX and create a CAD. Using the STL file as a reference, he used the dimensions—such as thickness, grip height, and thread parameters—to reconstruct the part in Visi CAD.
After that, it was time to print the part.
3D Printing
Armed with a wealth of data, Kamil sent the results off for 3D printing. Because the plastic threads of the fountain pen required high precision, Hot Lithography was the way to go.
Hot Lithography
Hot Lithography is a "hot" laser-based 3D printing process that, because of its special heating and coating mechanism, enables the processing of viscous resins as well as the additive production of precision plastic parts.
Its specialty lies in its hot coating technology, which allows engineers to carefully control temperatures to avoid overheating and unintentional polymerization, which can degrade materials. This allows for smoother components with excellent material resistance.

Printed sections of the fountain pen (credit: K. Szepanski)
There were two types of materials he tried at F. & G. Hachtel. The first was a transparent photopolymer, which produced a high-resolution component, but a methacrylic photopolymer made it perfectly adhesive to metals and other polymers. Plus, it gave it its dark color.

Transparent photopolymer—interesting, but only with LEDs inside (credit: K. Szepanski)
Methacrylic polymer also gives it its dark color
Now that Kamil had a smooth, material-resistant 3D print of the defective part, he wanted to make sure it was up to standard.
The Side of Caution
Kamil conducted a quick nominal/actual comparison to check the quality of the 3D print.
The results show that there are deviations at the end of the grip section, as indicated by the blue color, but they are very minor and do not affect the functionality—or aesthetics—of the part.


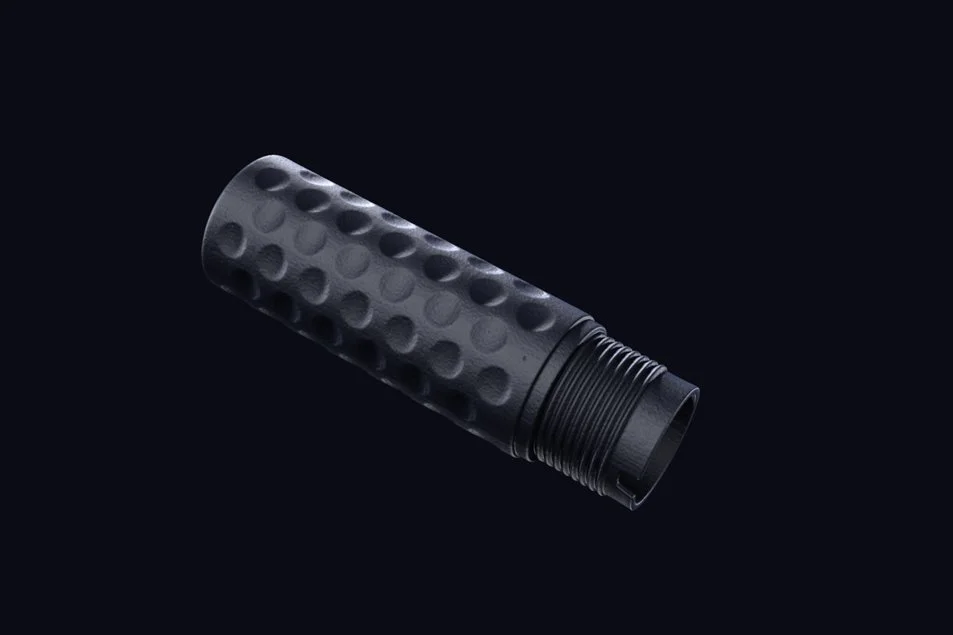
The restored pen in all its glory (credit: K. Szepanski)
The Pen is Mightier...
This was a great example of how cutting-edge CT technology can be used to restore old things and dip into another, perhaps more nostalgic, time. In this case, a time before instant messaging and smart phones.
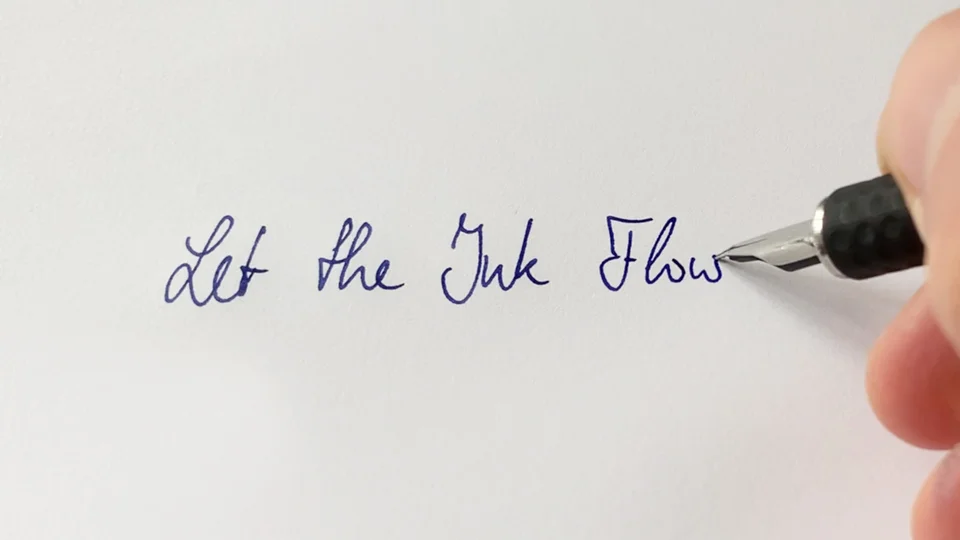
So grab a fountain pen and write a friend!
Ready to Learn More?
Users of VGSTUDIO MAX can find out more about segmentation, metrology, and visualization options in the tutorials included in the software.
Got a Story?
If you have a VG Story to tell, let us know! Contact our Storyteller Team at: storytellers@volumegraphics.com. We look forward to hearing from you.
